
Guides & Troubleshooting
Step-by-step instructions, common problem solutions, and best practices for getting the most out of FileZilla.
How to Connect to a Server
Quick answer: Open FileZilla, enter your host, username, password, and port (21 for FTP, 22 for SFTP), then click Quickconnect. For saved profiles, use File > Site Manager (Ctrl+S).
Method 1: Quick Connect
- Open FileZilla after installation.
- Enter your server hostname or IP address in the Host field of the Quick Connect toolbar.
- Enter your username and password in the corresponding fields.
- Set the Port: use 21 for FTP, 22 for SFTP, or the port specified by your hosting provider.
- Click Quickconnect and watch the Status panel at the bottom for connection results.
Note: Quick Connect stores only the last 10 entries and does not save credentials permanently.
Method 2: Site Manager (Recommended)
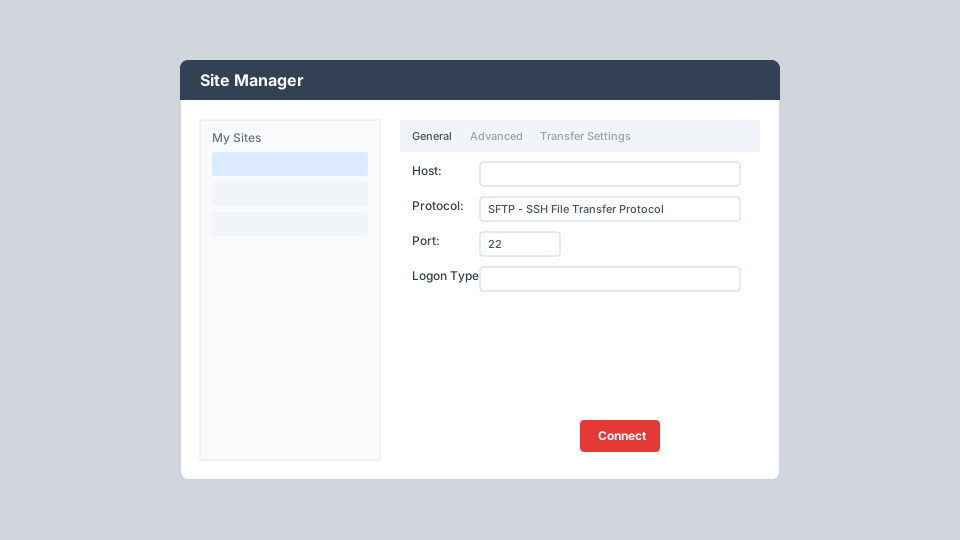
- Go to File > Site Manager or press Ctrl+S (Cmd+S on Mac).
- Click New Site and give it a descriptive name.
- Enter Host, select Protocol (FTP, SFTP, or FTPS), and set Port.
- Choose Logon Type and enter credentials or key file path.
- Optionally set default local and remote directories on the Advanced tab.
- Click Connect to establish the session.
Site Manager Tips
Use SFTP When Available
Always prefer SFTP (port 22) over plain FTP (port 21) when your server supports it. SFTP encrypts all data and credentials in transit.
Set Default Directories
Configure default local and remote directories so FileZilla opens directly to your project folder and web root (e.g., /public_html) on connect.
Limit Simultaneous Connections
On the Transfer Settings tab, enable connection limits if your shared host restricts parallel FTP sessions to avoid being blocked.
Enable Synchronized Browsing
Turn on synchronized browsing so navigating a folder on the local side automatically navigates the matching path on the remote side.
Configure Character Sets
If filenames display incorrectly, set the appropriate charset (UTF-8 is recommended) on the Charset tab for that site.
Organize with Folders
Group related sites into folders within Site Manager when managing multiple clients or environments (production, staging, development).
File Transfer Best Practices
Upload Files via Drag-and-Drop
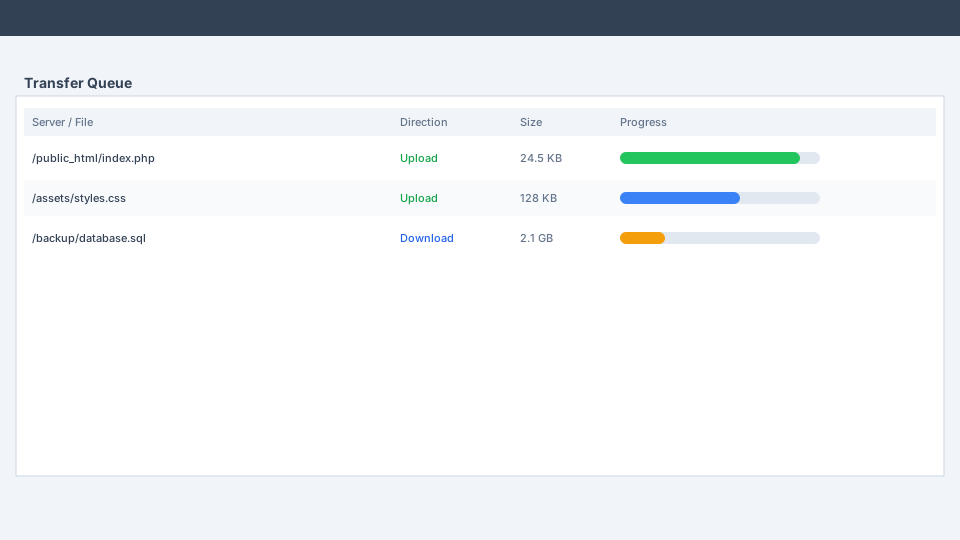
Select files in the Local site panel and drag them to the desired directory in the Remote site panel. Transfers begin automatically and appear in the queue at the bottom.
Use Directory Comparison Before Syncing
Go to View > Directory Comparison and choose comparison criteria (size, date, or both). Color-coded results show identical, different, and missing files before you transfer.
Queue Large Batches
For large deployments, add files to the queue instead of transferring immediately. Right-click selected files and choose Add to Queue, then start all transfers at once from the queue panel.
Verify Uploads in Your Browser
After uploading website files, open your domain in a web browser to confirm changes are live. Check the Status panel for any failed transfers that need retrying.
Common Problems & Solutions
Connection Timed Out
Cause: Firewall blocking FTP data ports, incorrect passive/active mode, or wrong hostname.
Solution: Run the Network Configuration Wizard (Edit > Network Configuration Wizard). Set transfer mode to Passive. Verify the hostname resolves correctly and that your firewall allows FileZilla through.
Authentication Failed
Cause: Incorrect username, password, or logon type. Using FTP credentials for an SFTP connection or vice versa.
Solution: Double-check credentials with your hosting provider. Ensure the Protocol in Site Manager matches what your server supports. For SFTP with keys, select Key file logon type and point to your private key.
Transfer Fails or Stalls
Cause: Unstable network, server connection limits, or file permission issues on the remote server.
Solution: Enable transfer resume in settings. Reduce simultaneous connections in Site Manager Transfer Settings. Check remote file permissions and available disk space on the server.
Certificate Verification Failed (FTPS)
Cause: The server's SSL certificate is self-signed, expired, or issued for a different hostname.
Solution: If you trust the server, you can accept the certificate when prompted. For production environments, ensure the server uses a valid certificate from a trusted certificate authority.
Filenames Display as Question Marks or Gibberish
Cause: Character encoding mismatch between client and server.
Solution: In Site Manager, go to the Charset tab and set the character set to UTF-8 or the encoding specified by your server administrator.
Too Many Connections from This IP
Cause: Exceeding the maximum simultaneous FTP connections allowed by shared hosting.
Solution: In Site Manager Transfer Settings, check Limit number of simultaneous connections and set Maximum to 1 or 2. Close unused tabs connected to the same server.
Antivirus Warnings Explained
Some antivirus products flag FileZilla installers as potentially unwanted programs. This is a known industry issue affecting many legitimate FTP clients, not an indication that FileZilla contains malware. The flagging often relates to bundled optional software in third-party download wrappers or heuristic detection of network-capable applications.
What You Should Do
- Download FileZilla only from the official file-zilla.org download page
- Verify the SHA-1 checksum matches the published value
- During installation, read each prompt carefully and decline optional bundled software
- If your antivirus quarantines FileZilla after a verified download, add it to your exclusion list
- Report false positives to your antivirus vendor so they can update their definitions
What FileZilla Does NOT Do
- Install hidden cryptocurrency miners or botnet software
- Collect passwords or keystrokes from your system
- Modify system files without your consent
- Connect to unauthorized servers without your configuration
- Include adware or browser hijackers in the core client application